Durafence Installation Process Explained
Installing a fence can feel like a big project. But with the right guidance, it becomes manageable and even rewarding. I want to walk you through the Durafence installation process step-by-step. This will help you understand what to expect and how to prepare. Whether you’re securing your home or business in Northeast Florida, this guide will make the process clear and straightforward.
Understanding the Durafence Installation Process
Durafence is a popular choice because it combines durability with a clean, modern look. The installation process is designed to be efficient and reliable. Here’s how it typically goes:
Site Assessment
Before any work begins, a thorough site assessment is done. This means measuring your property, checking the ground conditions, and identifying any obstacles like trees or utility lines. This step ensures the fence fits perfectly and meets local regulations.
Marking the Fence Line
After the assessment, the fence line is marked clearly. This helps avoid mistakes and keeps the installation on track. You’ll see stakes or spray paint marking where each post will go.
Post Installation
Posts are the backbone of your fence. They are set deep into the ground to provide stability. Depending on the soil and fence height, posts might be set in concrete for extra strength.
Panel Attachment
Once the posts are secure, the Durafence panels are attached. These panels are designed to fit snugly between posts, creating a seamless look. The materials are weather-resistant, so they hold up well in Florida’s climate.
Final Touches
The last step includes checking the fence for any loose parts, cleaning up the site, and making sure everything looks perfect. You’ll get a fence that’s not only functional but also visually appealing.

Why Choose Durafence for Your Property?
Durafence offers several benefits that make it a smart choice for homeowners and businesses alike:
Durability: Made from high-quality materials, Durafence resists rust, rot, and damage from storms.
Low Maintenance: Unlike wood fences, Durafence doesn’t need regular painting or sealing.
Privacy and Security: The solid panels provide excellent privacy and a strong barrier.
Aesthetic Appeal: Its clean lines and modern design enhance any property’s look.
If you want a fence that lasts and looks great, Durafence is a solid investment. Plus, the installation process is straightforward, especially when handled by experienced professionals.
How much does Dura fence cost?
Cost is always a key factor when planning a fence installation. The price of Durafence depends on several things:
Fence Length and Height: Longer and taller fences require more materials and labor.
Site Conditions: Rocky or uneven ground can increase installation time and cost.
Additional Features: Gates, custom colors, or extra security features add to the price.
On average, you can expect to pay between $30 and $50 per linear foot for Durafence installation. This includes materials and labor. Keep in mind that prices may vary based on your specific location in Northeast Florida and the complexity of your project.
To get an accurate estimate, it’s best to request a quote from a local installer who knows the area and can assess your property in person.
Preparing Your Property for Installation
Before the installation team arrives, there are a few things you can do to make the process smoother:
Clear the Fence Line: Remove any debris, plants, or obstacles along the planned fence path.
Mark Utilities: Call your local utility companies to mark underground lines. This is crucial for safety.
Plan Access: Make sure the installers can easily reach the site with their equipment.
Discuss Your Preferences: Confirm gate locations, fence height, and any special requests with the installer.
Taking these steps helps avoid delays and ensures your fence goes up without a hitch.
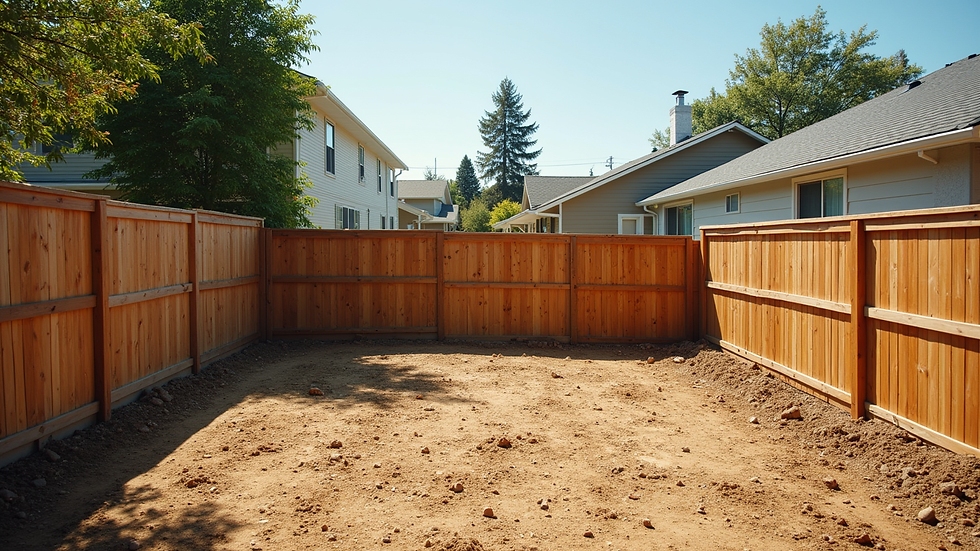
What to Expect During Installation Day
On the day of installation, the crew will arrive with all the necessary tools and materials. Here’s what typically happens:
Setup: They’ll set up equipment and review the plan with you.
Post Digging and Setting: Holes are dug for the posts, which are then set and secured.
Panel Installation: Panels are attached between posts, checked for alignment and stability.
Cleanup: The team will clean the site, removing any leftover materials or debris.
The whole process usually takes a few days, depending on the size of your fence. You’ll see steady progress and can ask questions along the way.
Maintaining Your Durafence for Longevity
Once your Durafence is installed, keeping it in good shape is simple:
Regular Cleaning: Wash the fence with water and mild soap to remove dirt and mildew.
Inspect for Damage: Check for any loose panels or posts after storms.
Trim Vegetation: Keep plants and grass trimmed away from the fence to prevent damage.
With minimal effort, your fence will stay strong and attractive for years.
Choosing Durafence means investing in a fence that combines strength, style, and ease of care. By understanding the installation process, you can feel confident and prepared. If you want a hassle-free experience, working with a trusted local installer is key. They’ll handle everything from start to finish, making sure your new fence fits perfectly and lasts a lifetime.
For more details on the durafence installation, reach out to a professional near you today. Your property deserves the best protection and curb appeal, and Durafence delivers just that.


Comments